Have you recently faced a laptop repair issue and worried about repair costs hitting the roof? Most people who use laptops are not familiar with the inner workings and or availability of individual components, which places them at the mercy of laptop repair services for the smallest of repair jobs.
5 Simple Laptop Repair Hacks
Here are 5 simple laptop repair hacks that will serve you well if you’re a DIY enthusiast and will also help you save cash.
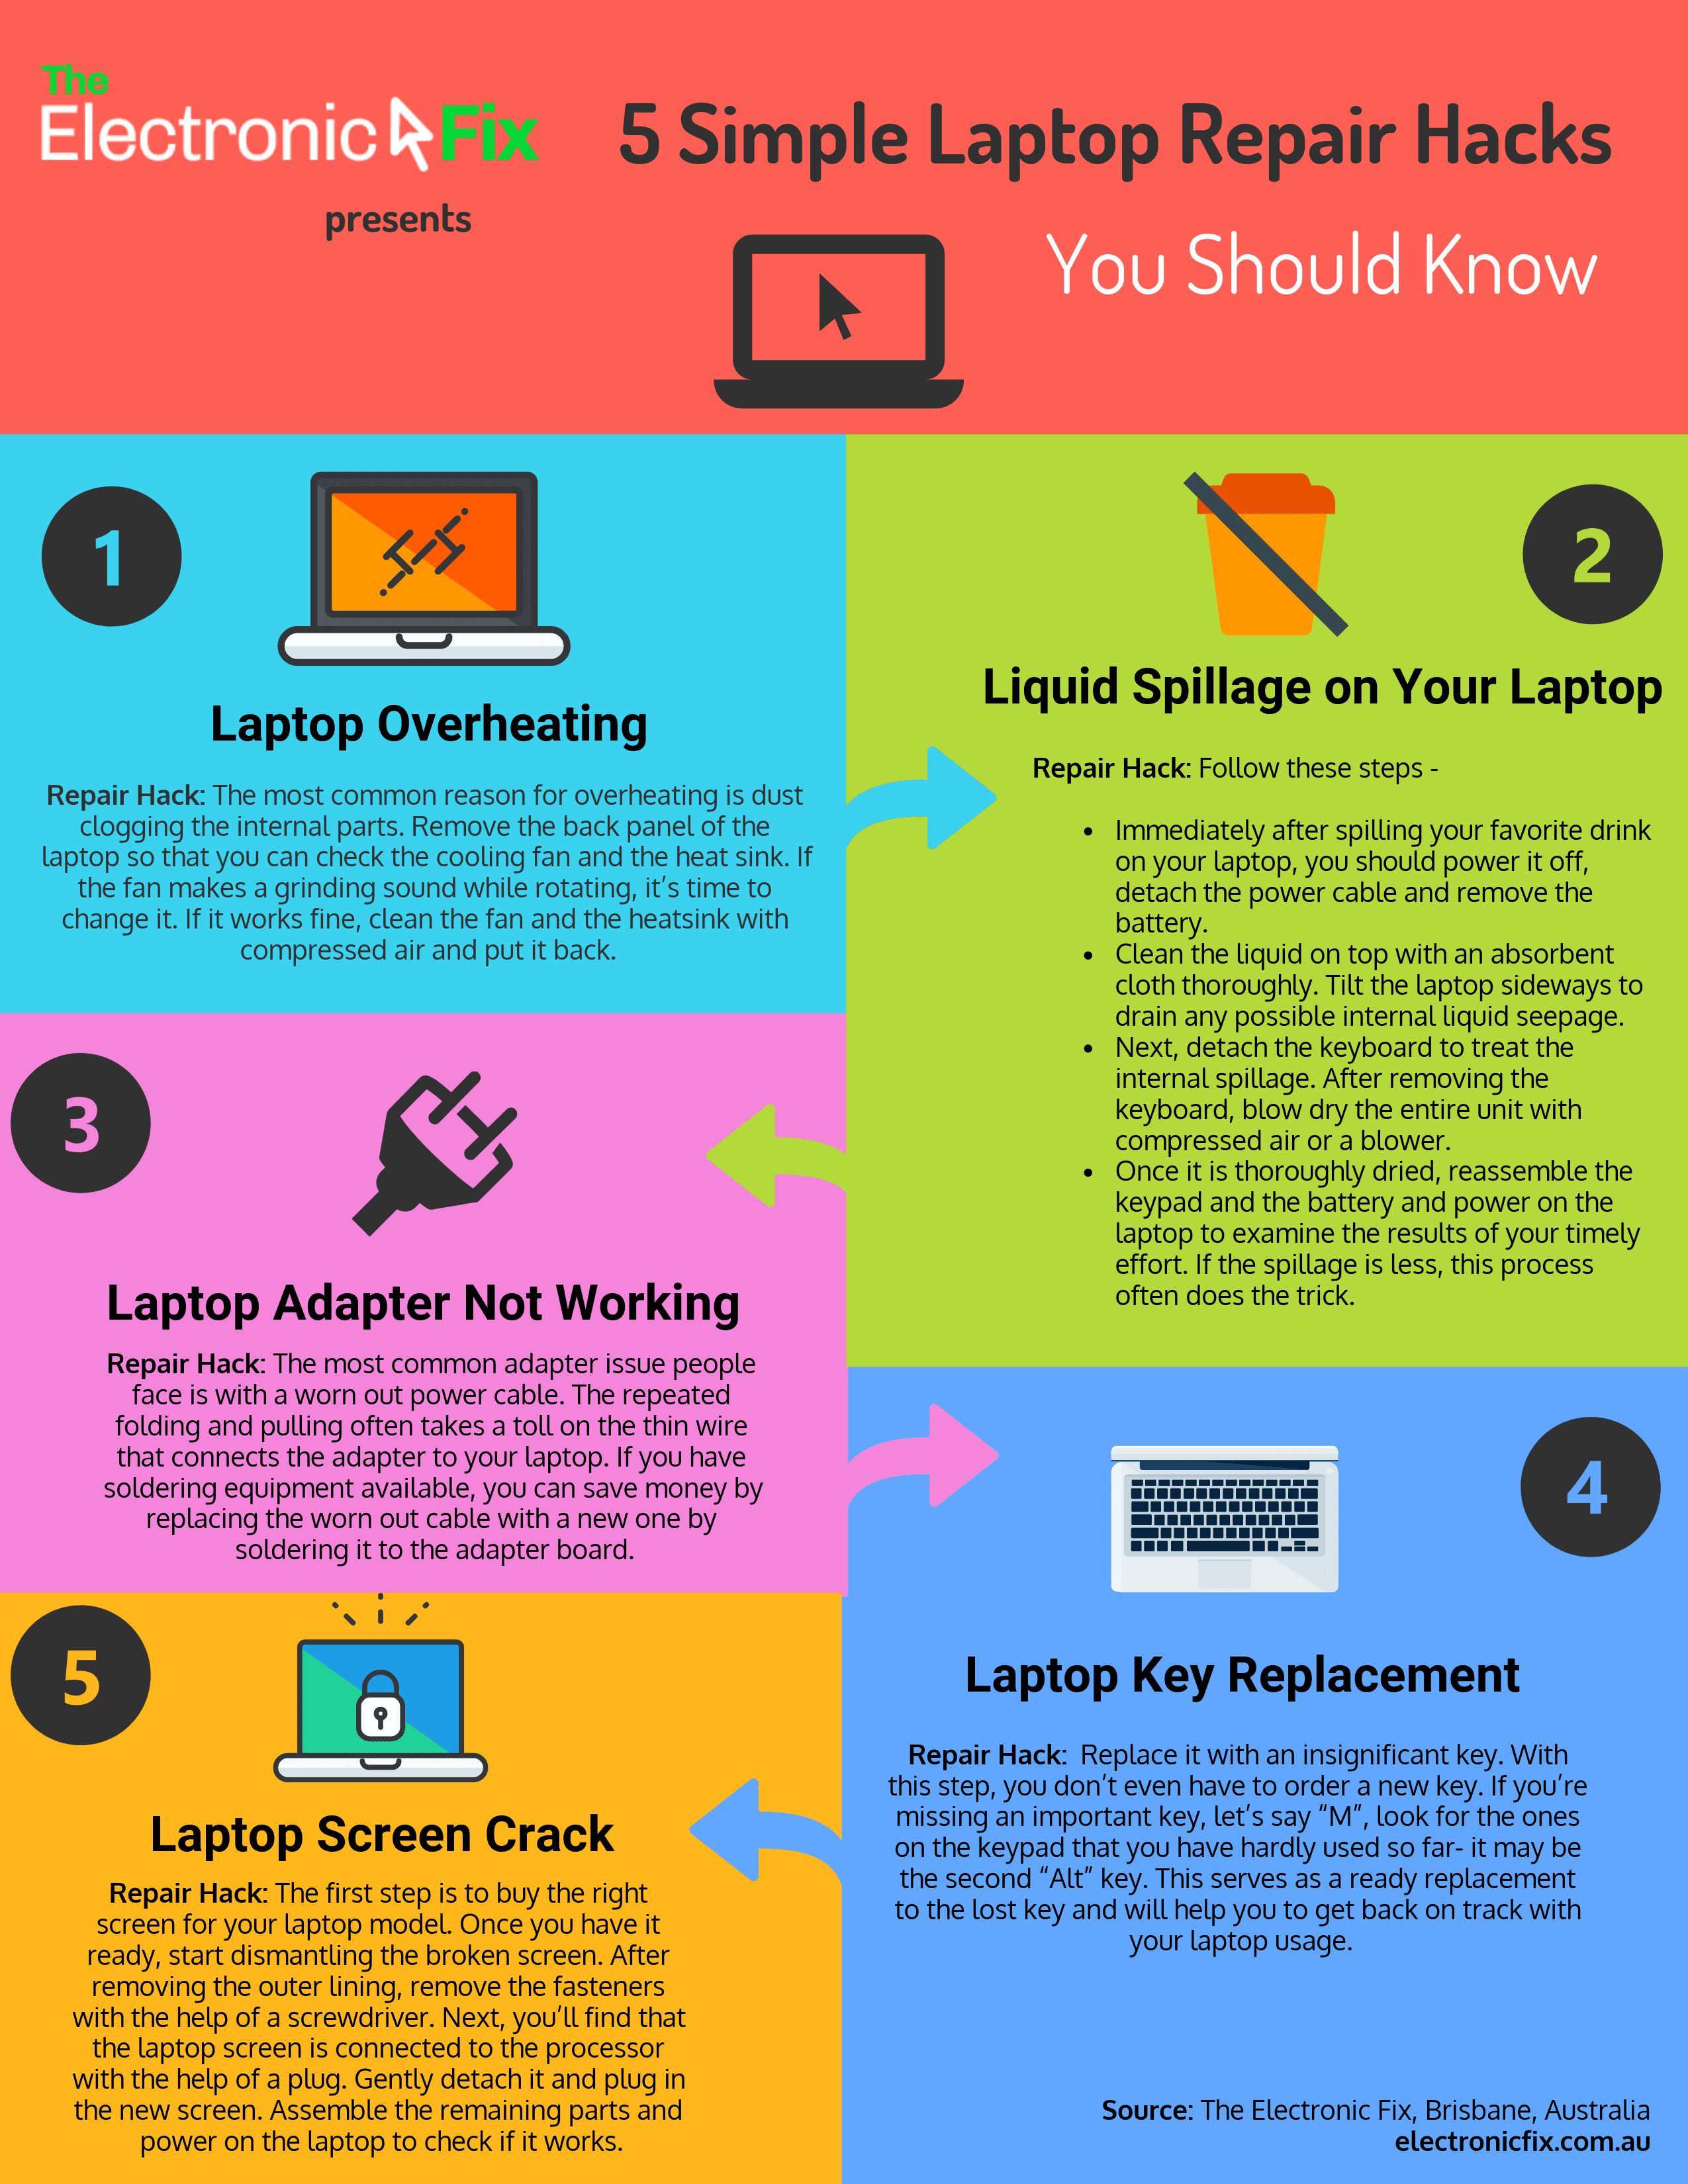
1. Laptop Key Replacement
If you’re one of those users whose keyboard ultimately surrenders to the ruthless typing, then it’s likely that you are missing some keys on your laptop keypad. Instead of replacing the whole keypad, there are some simple hack’s you can use to restore the keypad to normal.
There is no universal solution to this as every keypad is different. Pick the one that suits you best:
Case 1: The key and its retainer has fallen.
The solution is simple, you just have to put it back. But the question is how? There are numerous YouTube videos which demonstrate how to replace a fallen key. However, if you don’t find one, remove the key beside the missing key to check how the retainer is placed on the keypad. You can then place the fallen retainer in a similar fashion and fix the key.
Case 2: The fallen key and retainer are missing or broken.
The missing keys are just a Google search away. Many companies today offer individual keys along with their retainer brackets, delivered from the original manufacturer, so that you don’t have to worry about investing on an entirely new keypad. If you own a Dell Inspiron, you simply have to give a search for “Dell Inspiron Key”, select a vendor and order the required keys.
Case 3: Use an insignificant key.
With this step, you don’t even have to order a new key. If you’re missing an important key, let’s say “M”, look for the ones on the keypad that you have hardly used so far- it may be the second “Alt” key. This serves as a ready replacement to the lost key and will help you to get back on track with your laptop usage.
2. Laptop Overheating
If your laptop sometimes shuts down within a short duration of usage, it’s mostly likely because of overheating. When the system overheats, it attempts to shut itself down to protect the internal components from overheating and burning. When this happens, before you decide to open the parts, check for clogging in the heat sink.
Heatsink in a laptop is a thermal conductor which, along with the fan, aids in cooling the processor by attracting the hot blown air and cooling it with the help of fins. This works similar to a radiator in a car.
The most common reason for computer and laptop overheating is dust clogging the internal parts. Remove the back panel of the laptop so that you can check the cooling fan and the heat sink. If the fan makes a grinding sound while rotating, it’s time to change it. If it works fine, clean the fan and the heat sink with compressed air and put it back.
If the clogging is excessive, gently dismantle the heat sink with the help of a screwdriver and clean it with a toothbrush. Sometimes, you’ll be astonished by the amount of dirt that gets accumulated.
3. Liquid Spillage on Your Laptop
Before you rush to the repairer, this hack might give you a fighting chance to salvage whatever possible after the incident:
- Immediately after spilling your favorite drink on your laptop, you should power it off, detach the power cable and remove the battery.
- Clean the liquid on top with an absorbent cloth thoroughly. Tilt the laptop sideways to drain any possible internal liquid seepage.
- Next you’ll have to detach the keyboard to treat the internal spillage. After removing the keyboard, blow dry the entire unit with compressed air or a blower.
- Once it is thoroughly dried, reassemble the keypad and the battery and power on the laptop to examine the results of your timely effort. If the spillage is less, this process often does the trick.
- If the laptop fails to start, take it to an authorized repairer to resolve the issue.
4. Laptop Adapter Not Working
Note: This repair information will help you only if you’ve basic soldering experience and are acquainted with internals of an AC adapter.
The most common adapter issue people face is with a worn out power cable. The repeated folding and pulling often takes a toll on the thin wire that connects the adapter to your laptop. If you have soldering equipment available, you can save money by replacing the worn out cable with a new one by soldering it to the adapter board.
The second issue which may have caused your adapter to stop working is some internal component failure. If you remove the external plastic casing of the adapter, you’ll notice an internal aluminium casing which serves in heat dissipation. Inside the casing, there are a number of electrical elements like the capacitor, diodes and SMPS that function together to make the adapter work. If you can pinpoint the individual component that has failed and replace it, you can save a lot of cash which is otherwise wasted in buying an entirely new adapter.
5. Laptop Screen Crack
Did you accidentally drop your laptop and break its screen? First thing you’ve to do is switch on the laptop and check if the other internal components work fine. If all is good, replacing the screen is only a matter of 10 mins (if you’ve bought one already).
- Obviously, the first step is to buy the right screen for your laptop model. Once you have it ready, start dismantling the broken screen
- Most laptops come with a fibre cover (high-tech plastic reinforced with synthetic carbon) around the screen which can be easily removed using a flat screw driver or a knife.
After removing the outer lining, remove the fasteners with the help of a screwdriver.
- Next, you’ll find that the laptop screen is connected to the processor with the help of a plug. Gently detach it and plug in the new screen.
- Assemble the remaining parts and power on the laptop to check if it works.
Tip: Use an adhesive tape to cover the plugged portion so that it stays intact.
Summary & Infographic
As evident from what we have discussed above, all you have to do is identify the issue and find the required parts to fix your laptop. The next time you face an issue with your laptop, make sure you use these tips before heading over to the repairer.

Contact Brisbane’s Leading Laptop Repairer ‘The Electronic Fix’
This blog post about servicing laptops has been brought to you by Brisbane’s trustworthy repair service provide ‘The Electronic Fix’. For all your questions and professional service for all types of laptop issues, simply press here to call (07) 3613 0029 or email us today.
The Electronic Fix in Brisbane and surrounding suburbs offering laptop computer repairs, upgrades and part replacement as well as fixes game consoles. To learn more visit: Alderley, Arana Hills, Ashgrove, Aspley, Enoggera, Everton Hills, Everton Park, Ascot Brisbane, Bridgeman Downs, Carseldine, Clayfield and Services section.

